Why your AI visual inspection doesn’t need a EUR 500 light (and what actually works)
Lighting is one of the most common reasons automated inspections fail at the setup stage, and also one of the most overengineered parts of a machine vision project. The industry sells €500 to €2,000 ring lights, coaxial lenses and custom enclosures. On a real shopfloor, most of the time you do not need any of that. A €80 ring light is often enough.
In this post, we walk through three levels of lighting for AI-based visual inspection. Each level fits a different defect type and budget, from a €80 starter setup to a side-lit spotlight for dents and white surfaces. We also show where each option has held up in long-term production with Enao Vision customers.
Why lighting matters more than most teams expect
The camera can only see what the light reveals. An AI model, no matter how well trained, cannot find a defect that is washed out, filled in or in glare. That is why poor lighting is one of the top reasons visual inspections fail at setup, alongside camera angles and inconsistent environments.
The good news is that most lighting problems have simple fixes. You do not need specialist hardware to start. The right approach depends on two questions: what kind of defect you are looking for, and how harsh your production environment is. Let us walk through the three most common setups.
Level 1: A ring light for standard surfaces (around €80)
For most surfaces that are not highly reflective or topologically complex, a basic LED ring light is all you need. Seriously. These are the same lights that content creators use to film Instagram videos, and they hold up on a production line too.
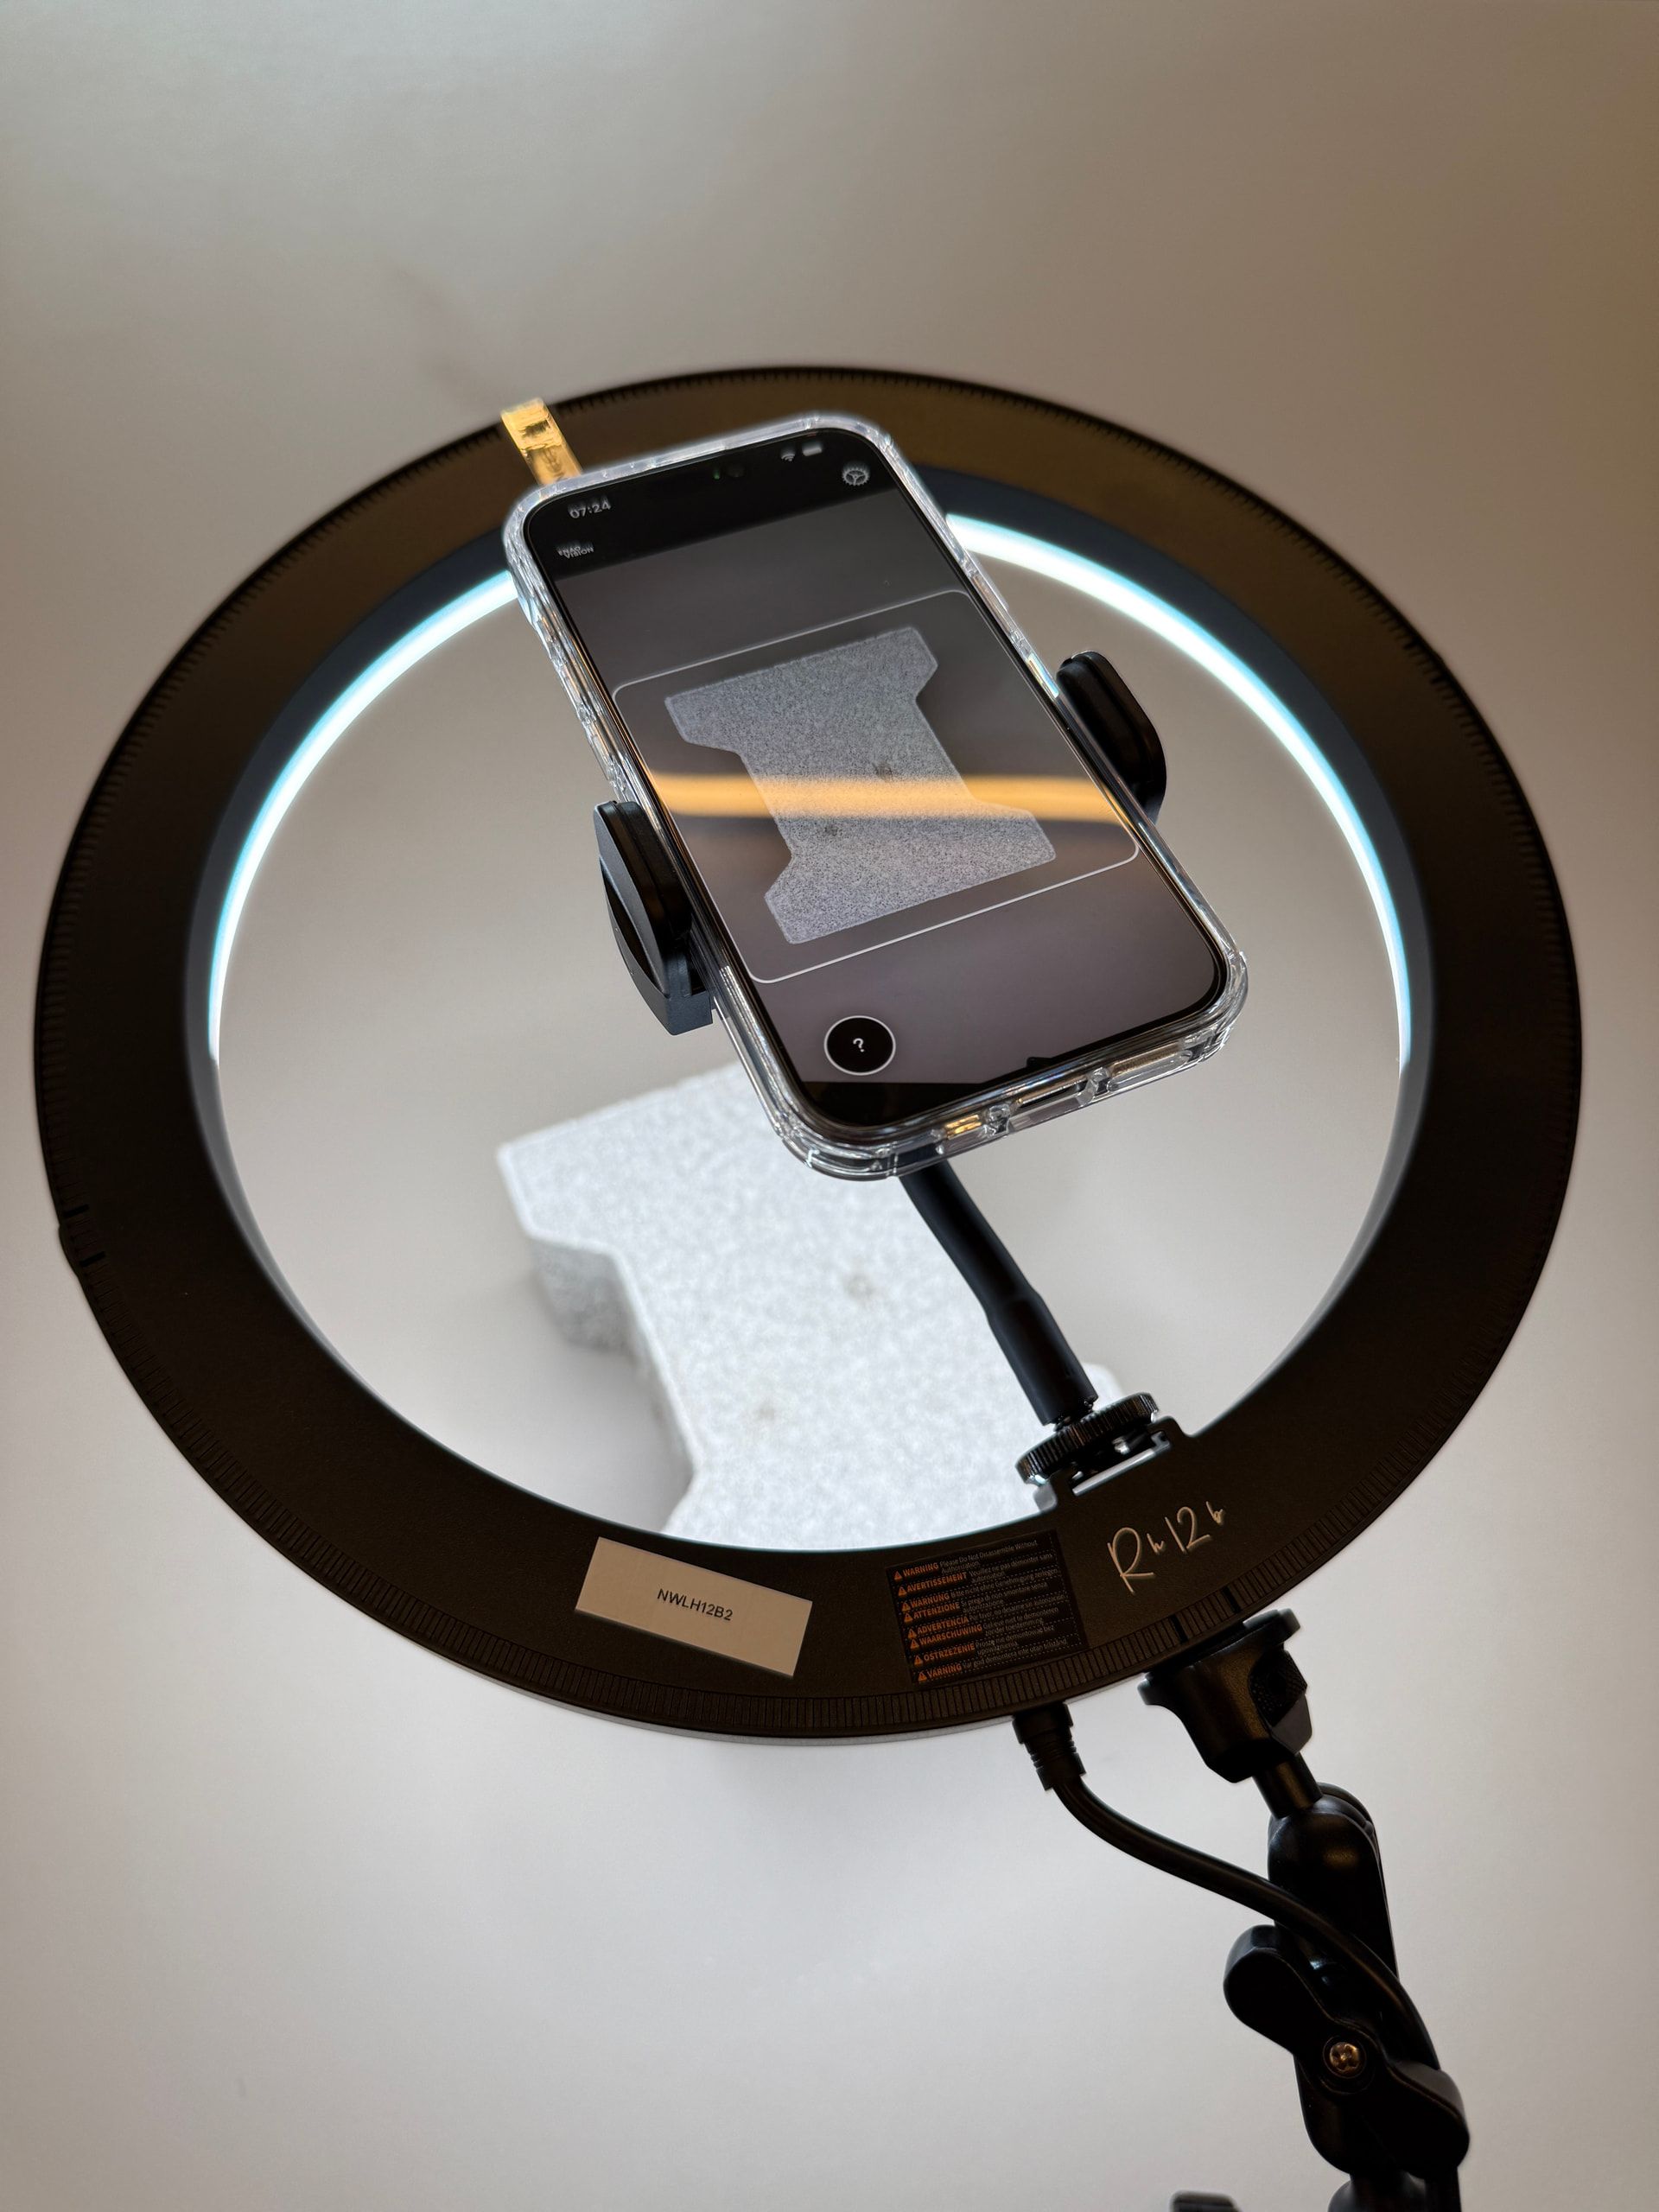
We have had great results with Neewer ring lights. They cost around €80, they are easy to set up and customers are running them in production long-term without issues. Our specific recommendation is the NEEWER 30.5 cm 12 Inch 24 W High Performance LED Ring Light.
One nice trick: you can mount the ring light directly on top of the flexible clamp from the Enao mounting guide. Quick to set up, easy to adjust and no extra hardware needed.

Best for: standard surfaces, getting started fast, budgets under €100.
Level 2: Industrial ring lights for long-term setups (€150 to €200)
If you want something that feels more industrial and holds up longer, there are proper machine vision lights that still stay within a reasonable budget. Just be careful. Prices climb quickly above this range and the jump in quality is not always worth it.
We tested lights from Bauer & Böcker and had very good results. Aluminum housing, solid build quality, magnetic mounts that attach nicely to metal fixtures. The specific model we recommend is the LED-Maschinenleuchte “Nachtwächter” S.
Best for: long-term production setups where you want a sturdier housing, and environments where magnetic mounting makes installation easier.
Level 3: Side lighting for dents, inclusions and white surfaces (around €150)
Most setups will not need this. But if your defects are about shape, like dents, inclusions or surface bumps, or if your products are white and reflective, standard top-down lighting will not cut it.
Here is why. If you light a surface straight from above, from the same direction as the iPhone camera, flat defects like dents and inclusions disappear. The light fills them in. The camera cannot tell the difference between dust and a real defect. The same thing happens with white or very light products. The light bounces straight back into the lens and washes out everything on the surface.
The fix is to light from the side at a steep angle. Think of the sun at sunset. Low light creates long shadows. Every bump, dent and inclusion suddenly casts a shadow and becomes clearly visible.
For this, you do not need a ring light. You need a spotlight aimed across the surface at roughly 90 degrees to the camera. Bauer & Böcker makes a good one with a magnetic mount for around €150: LED-Arbeitsleuchte “Punktstrahler”.
The difference is dramatic. Lit from above, dust and dirt can look like defects (first image). Lit from the side, every dent on a profile becomes visible (second image).


Best for: dents, inclusions and surface bumps. White or light-colored products. Any case where the defect is about shape, not color. This setup works especially well for industries like plastic injection molding and ceramic tile production, where shape defects and light-colored surfaces are common.
Quick reference
| Your situation | What to use | Approx. cost |
|---|---|---|
| Standard surfaces, getting started | Neewer ring light | ~€80 |
| Long-term production, sturdier build | Bauer & Böcker ring light | ~€150 to €200 |
| Dents, bumps, white surfaces | Spotlight from the side at 90° | ~€150 |
The bottom line
Start simple. Grab a ring light for €80 and see how far it gets you. In our experience, it covers the majority of use cases. If you hit issues, washed-out defects or invisible dents, then you know you need side lighting and can upgrade from there.
Do not let anyone tell you that you need a €500 machine vision light to do quality inspection. Most of the time, you do not. For more on why overbuilt setups can hurt rather than help, see our comparison of the major AI machine vision systems and which iPhone models work best with Enao.
Getting started
Enao Vision runs on any iPhone 12 or newer, uses off-the-shelf lights like the ones above and gets you from unboxing to first inspection in under an hour. Start a free trial to test it on your own production line, or join our community to ask setup questions and share your own lighting setups.
Have a specific surface that is giving you trouble? Post a photo in the Enao Vision community and we will help you figure out the right lighting setup.
Explore with AI
Discuss this article with your favorite AI assistant