How to label defects for AI visual inspection: a bounding box annotation guide


The first defect detection model we trained was terrible, and it was our fault. The pictures were fine and the model was fine. The boxes we drew around the defects were all over the place, and the model learned exactly what we showed it, which was confusion.
Since then we have labeled a lot of parts, and so have the people we work with, and the same handful of things keep coming up. None of them are complicated. Most of them are obvious once someone points them out. This is that someone pointing them out.
Quick summary
Take pictures from different angles, distances and lighting so the model learns the defect and not the setup. Then label every defect in every image, draw each box tight, label the same way every time, let boxes of different defect types overlap, and start with fine-grained classes you can merge later. In practice, one honest box beats ten missed ones, messy samples belong out of the dataset, and if two people would draw it differently, the box is probably wrong.
Taking pictures: one principle
A model generalizes from variety. If every picture of a pinhole is taken from the same spot under the same lamp, it learns that spot and that lamp, and the first time a part arrives slightly rotated it gets nervous. So the one thing worth doing while collecting training images is to move.
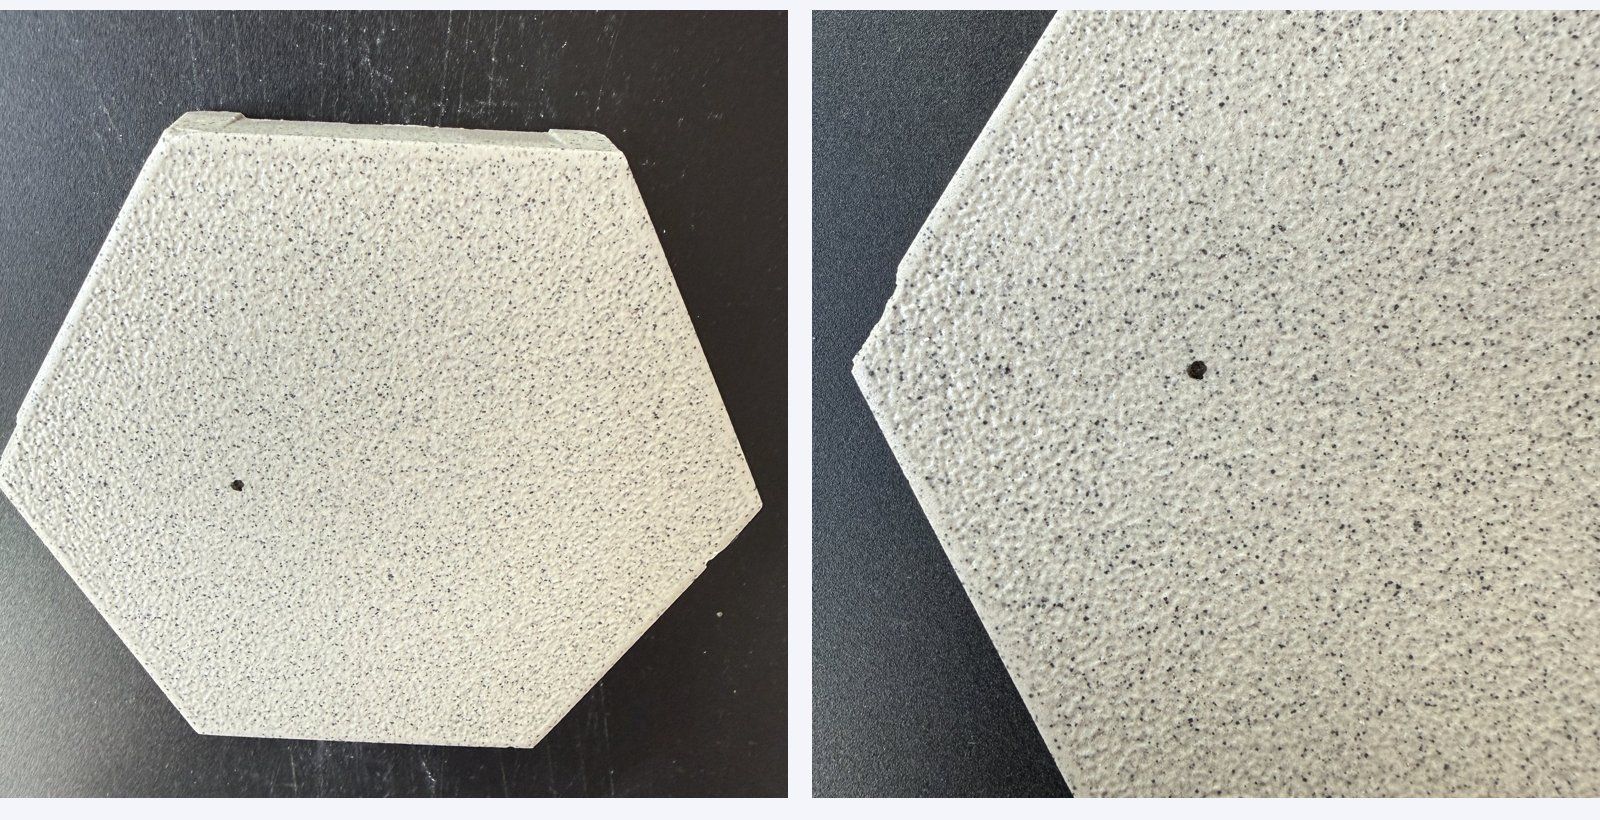
Different angles. Walk around the defect and shoot it from a few sides. The same pinhole looks different straight on and at 45 degrees, and the model should meet both.
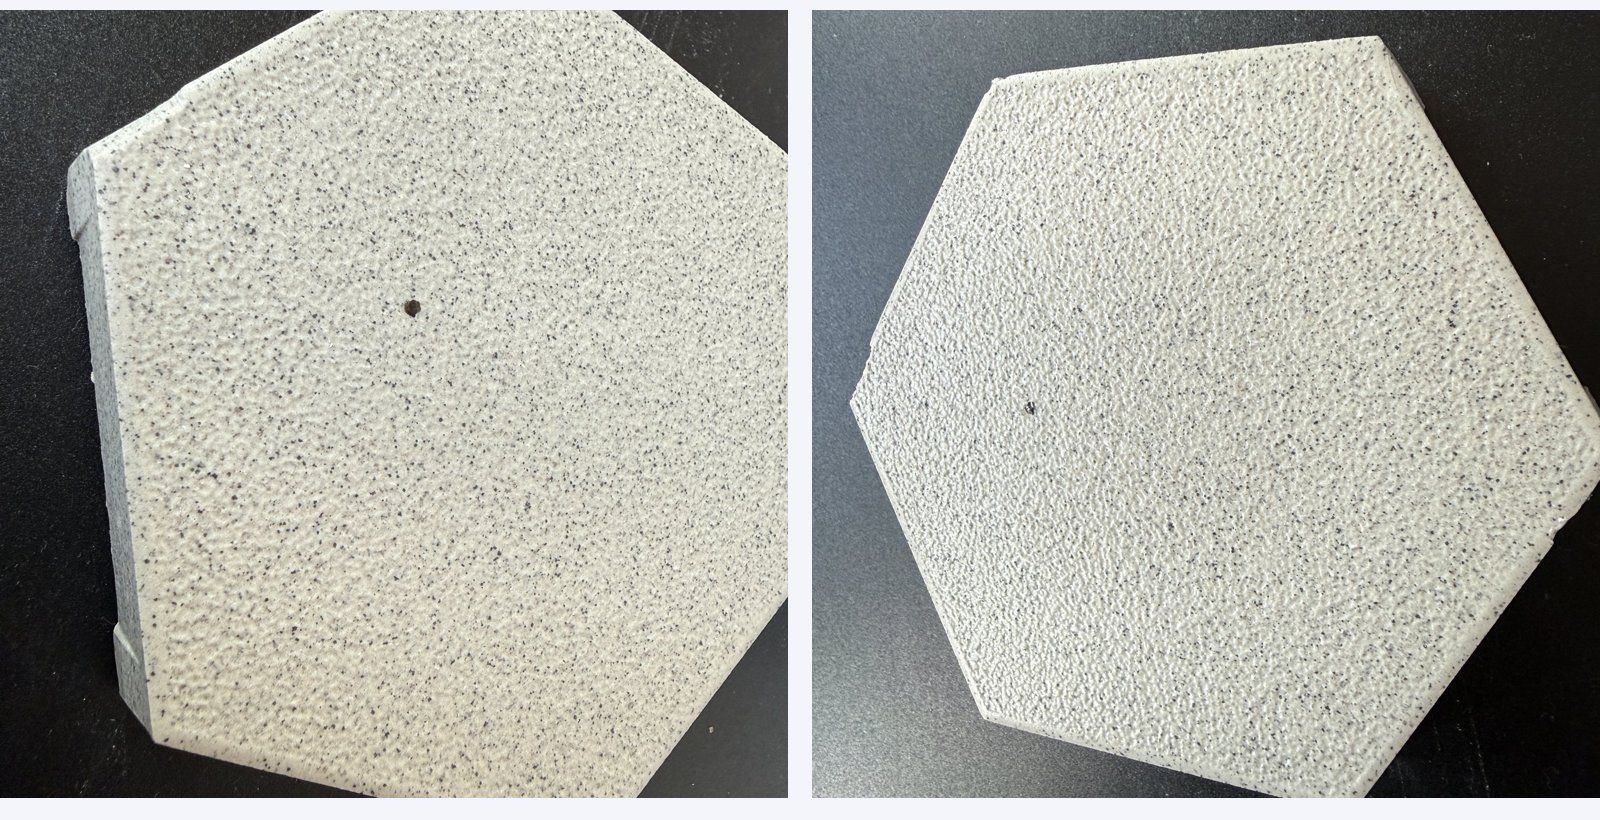
Different light and background. Bright, dim, in shadow, on the bench, on the line. Changing the background is how the model learns to ignore it.
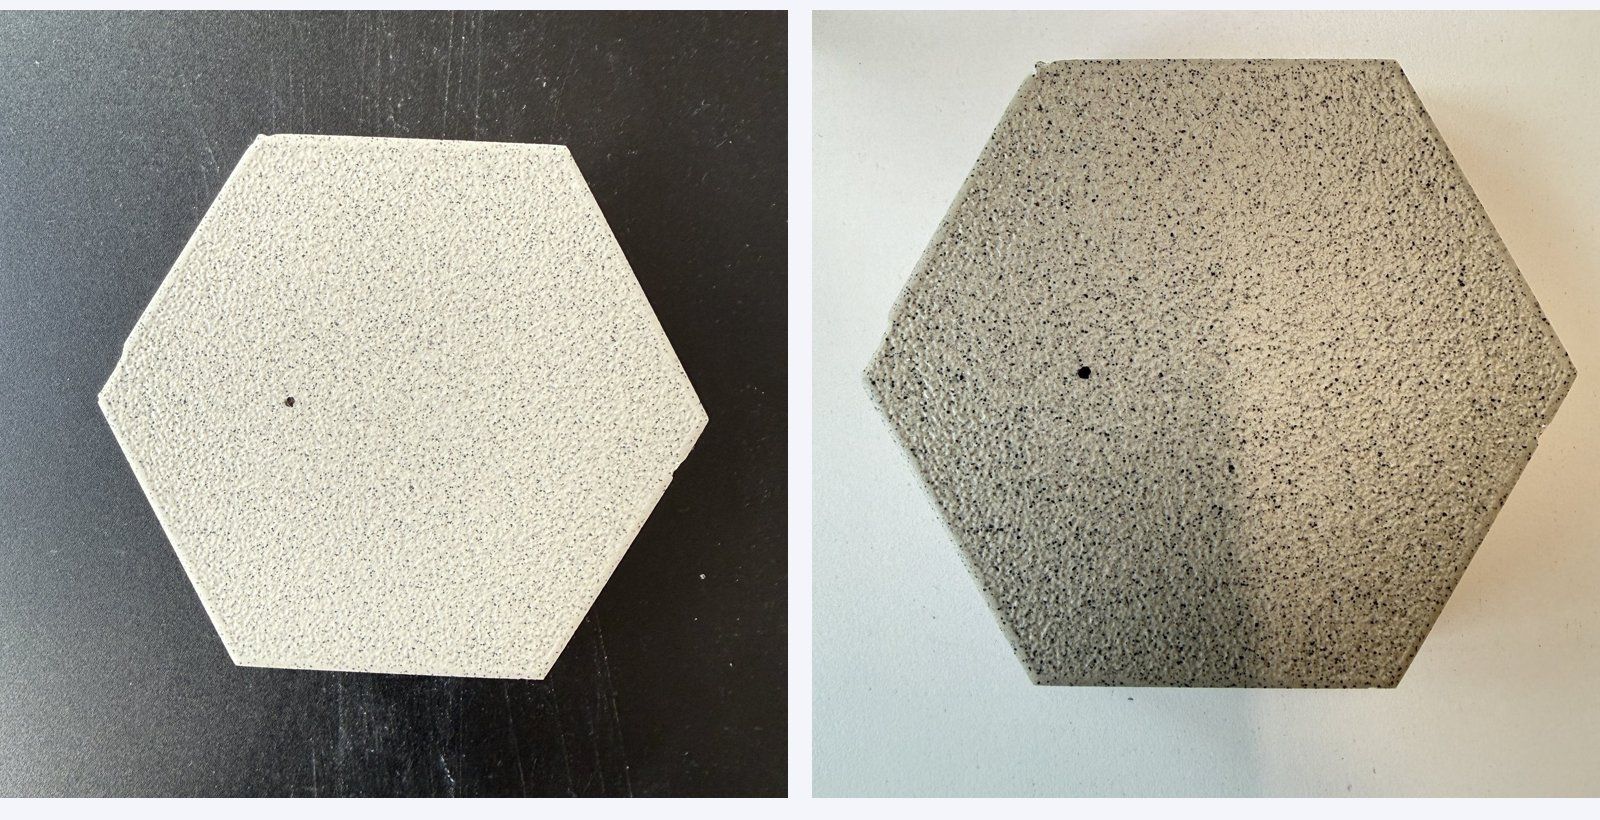
Different distances. Step in, step back. A defect that fills the frame and a defect that is a speck in the corner are both things it will see in production.
If your camera is fixed on the line, none of this is a problem. A fixed position gives you very consistent images and a model that is very good at that one view. Variety matters most when the iPhone is handheld, or when one model needs to cover more than one station.
Labeling: five cornerstones
These are not Enao rules. They apply to any image annotation for object detection, and they are the difference between a model that is confident and one that keeps asking you to double-check.
1. Label every defect in the image
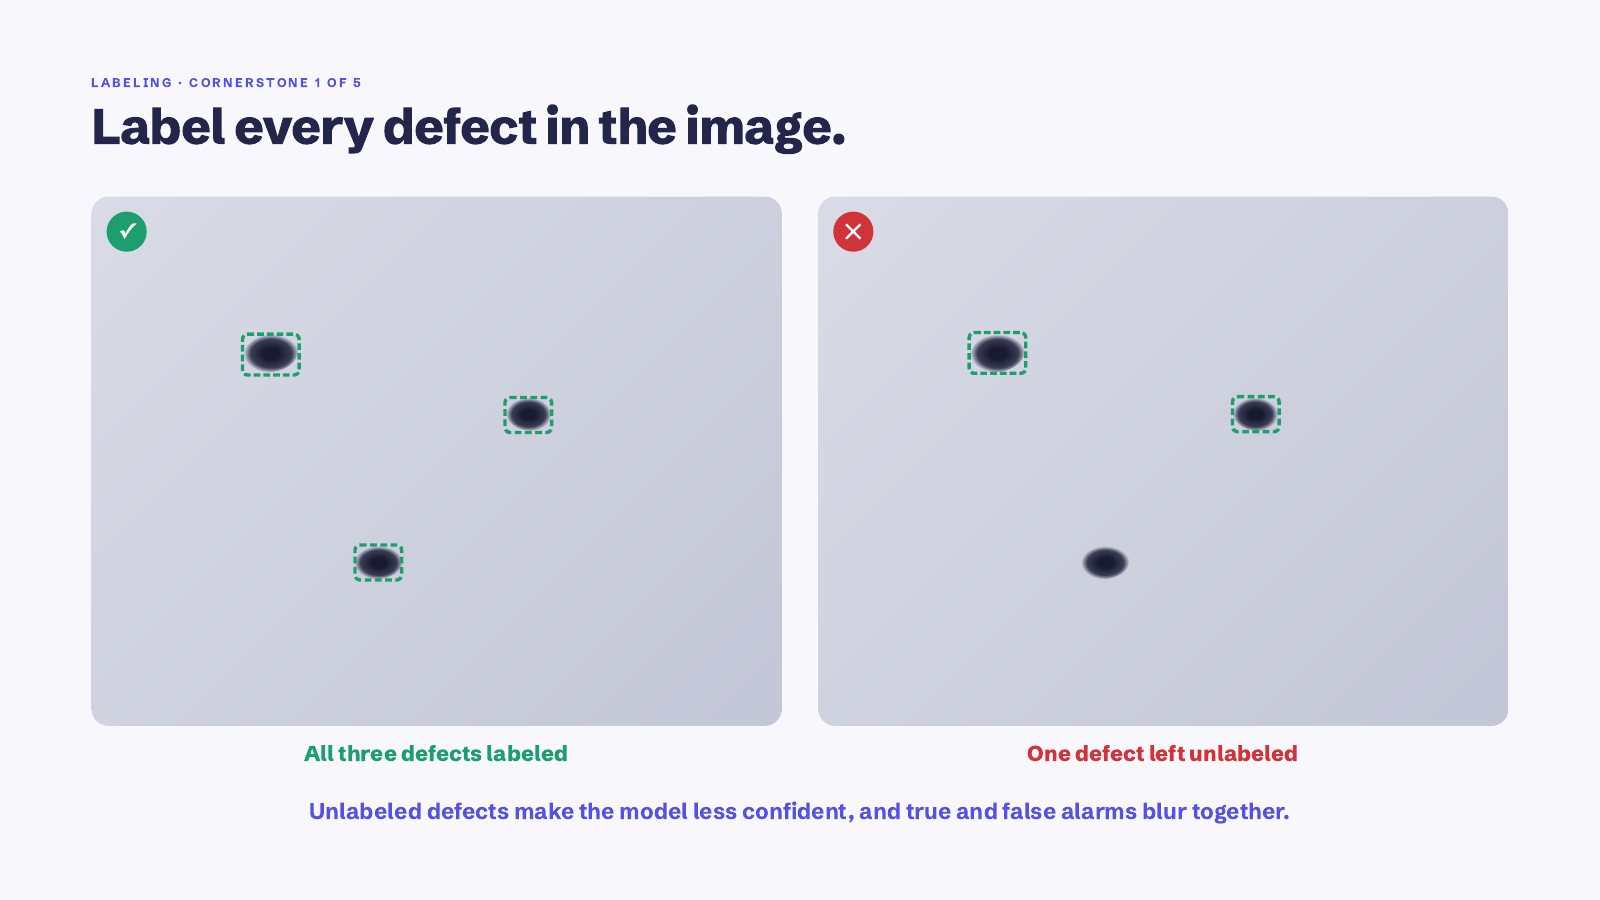
This is the one we got wrong first. If an image has three defects and you box two, you have just told the model the third one is background. Do that a few dozen times across a dataset and true alarms and false alarms start to blur, because the same pattern has been shown as both. If you can see it, box it.
2. Draw the box tight around the defect
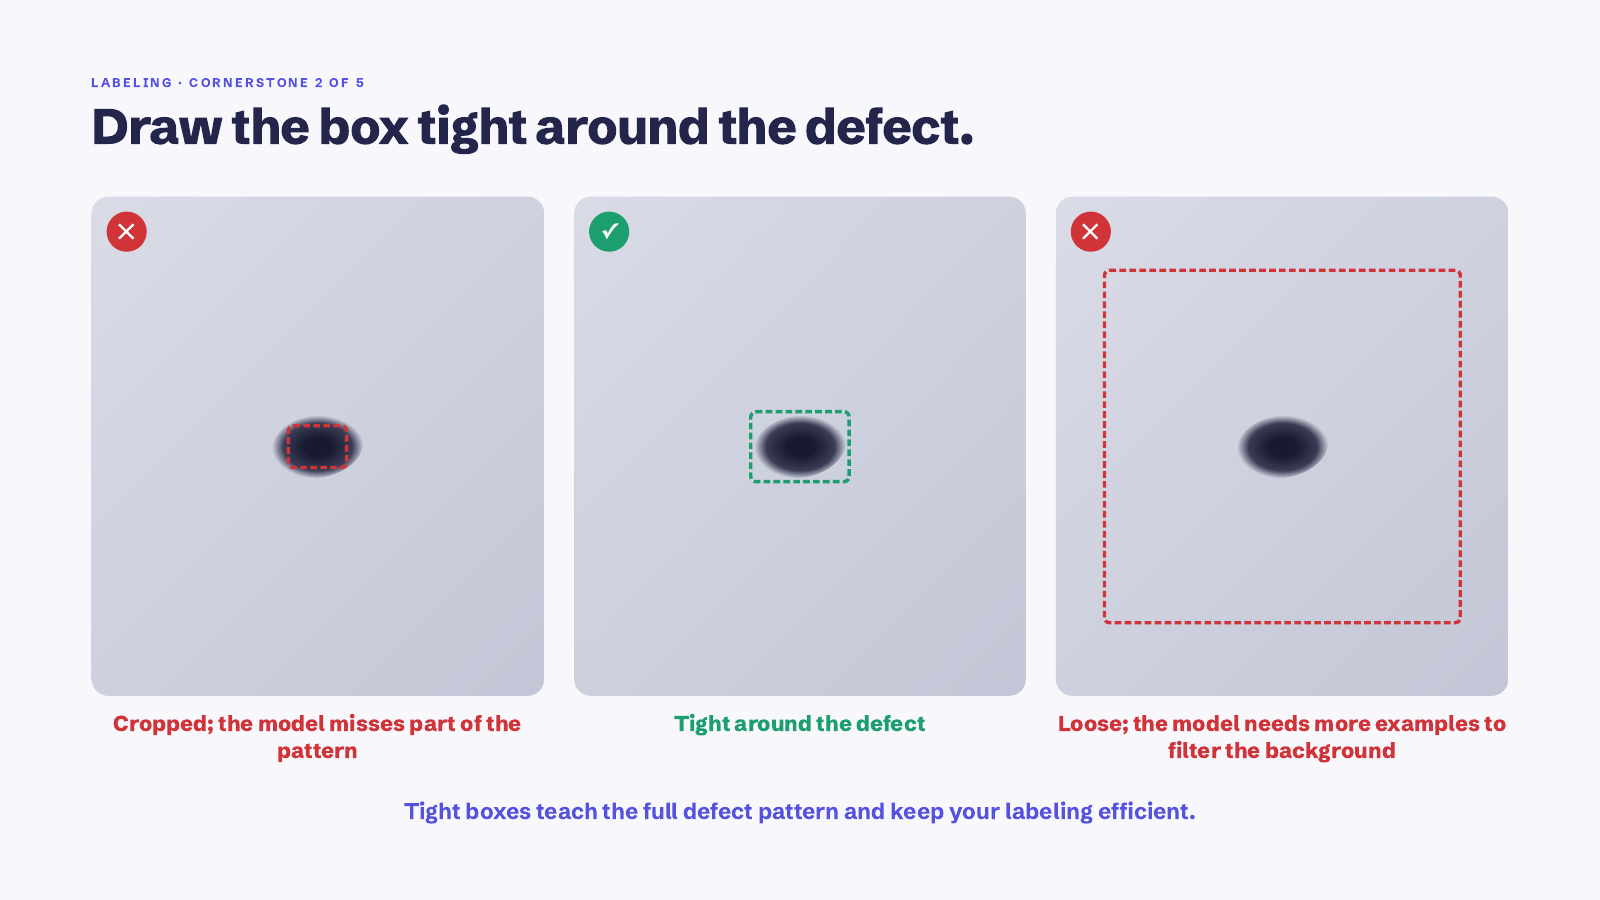
A tight box with a few pixels of margin teaches the full defect pattern and nothing else. Crop it and part of the pattern goes missing. Leave it loose and the model has to learn to ignore all that background, which takes more examples than anyone wants to label. Tight also happens to be faster to draw, which is a nice bonus.
3. Label the same way every time
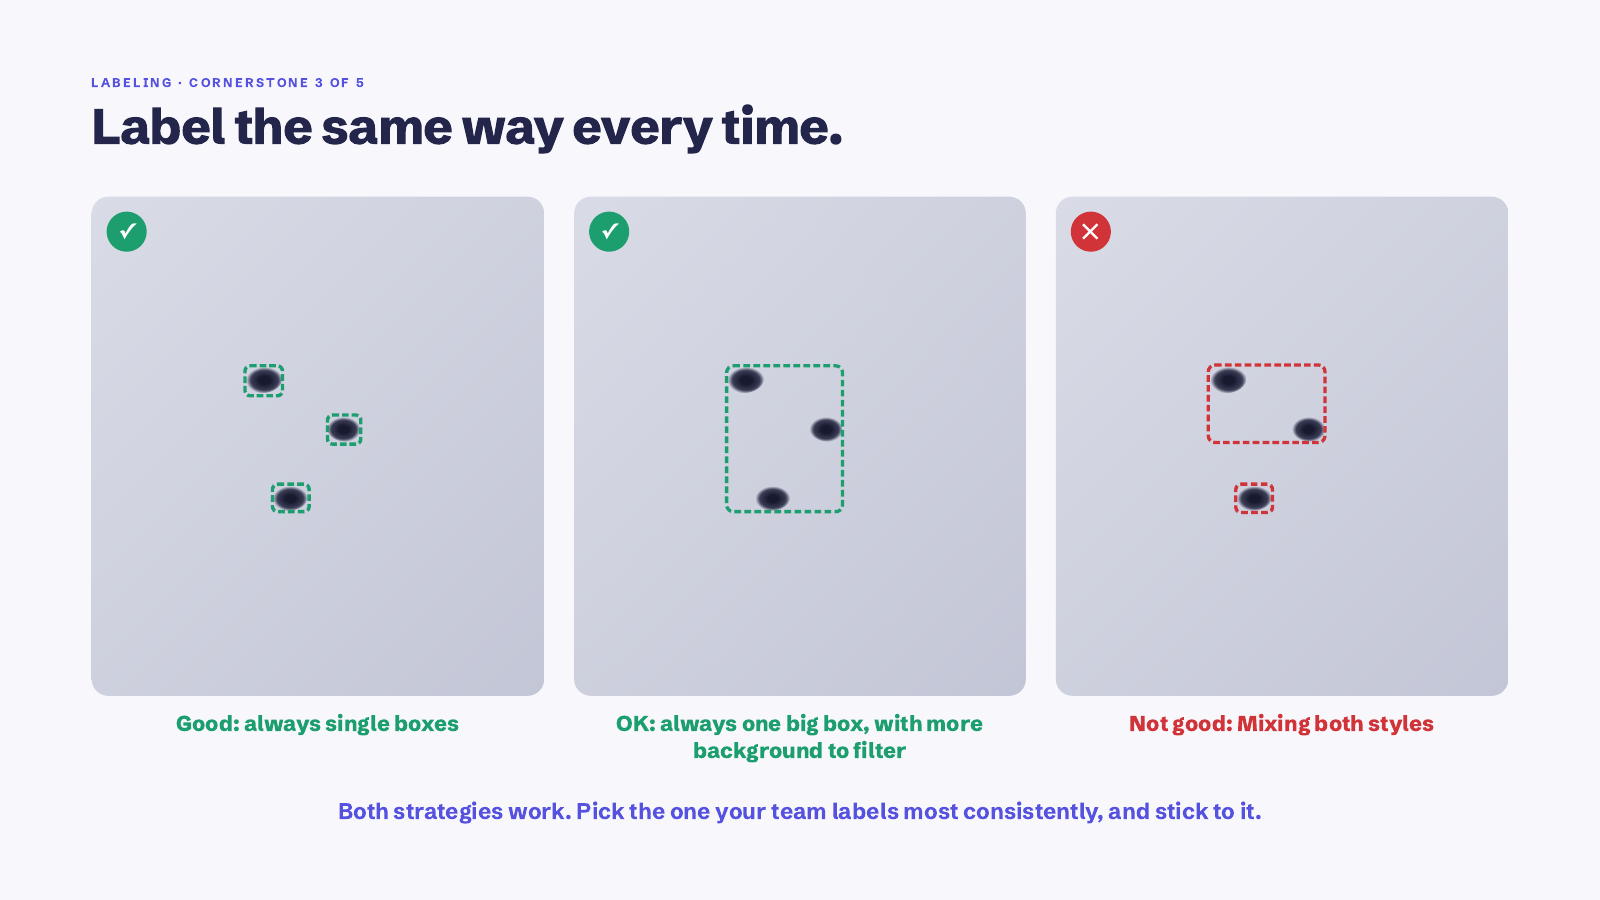
There are two perfectly good ways to handle a cluster of small defects. Box each one, or draw one box around the group. Both work. What does not work is doing some of each, because then the model sees the same situation labeled two ways and cannot decide. Pick whichever your team finds easier to do consistently and write it down somewhere.
4. Overlapping boxes of different defects are fine
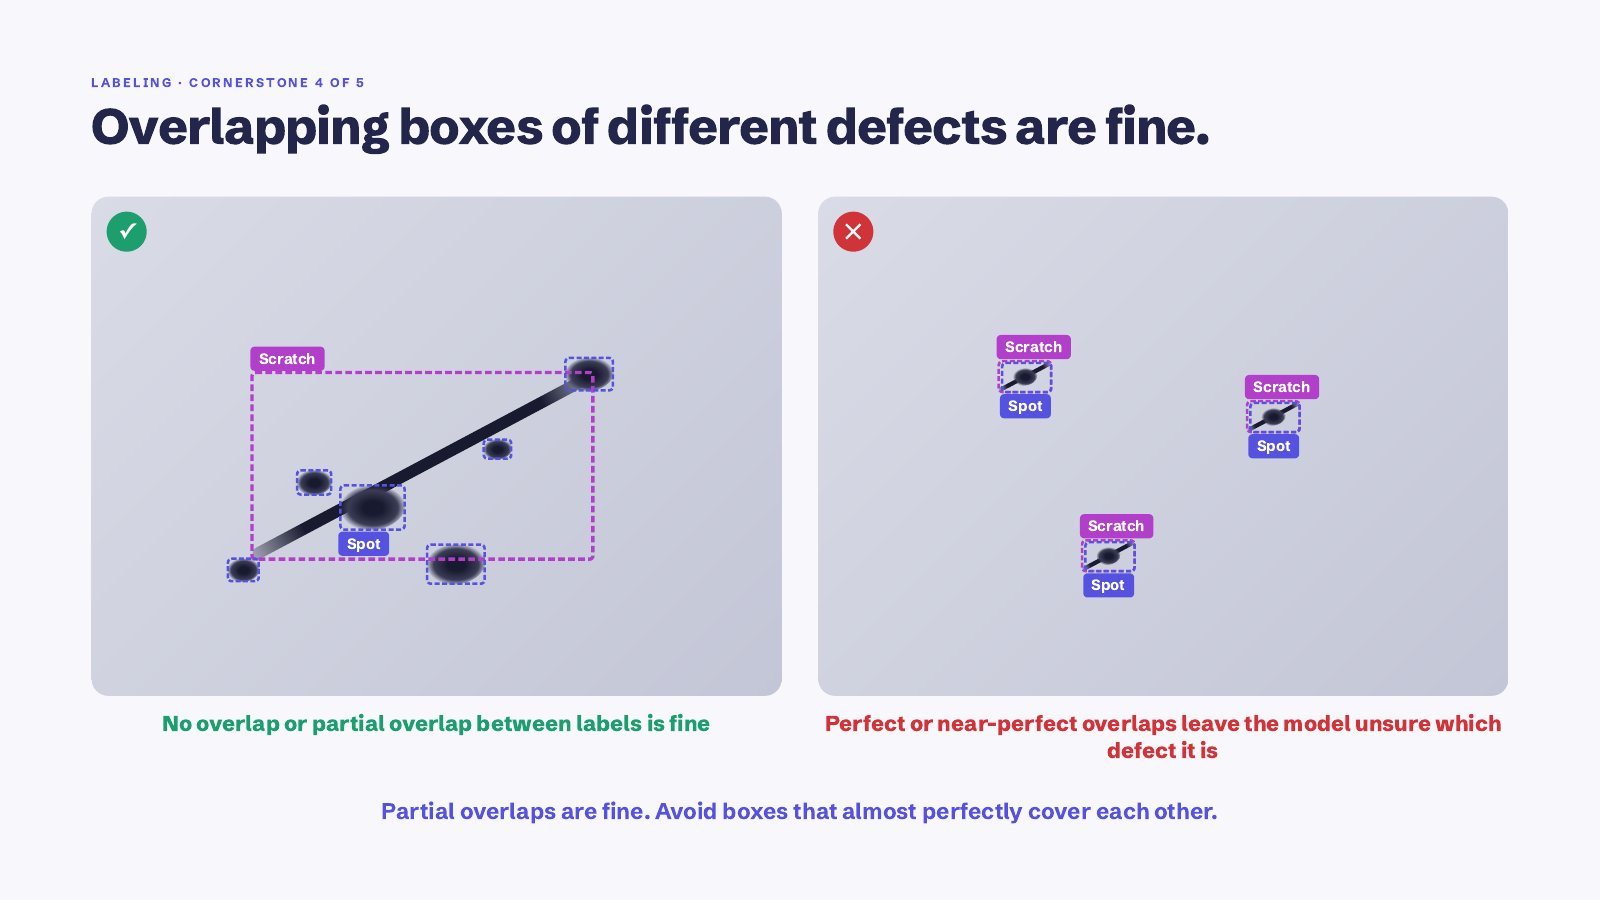
A scratch running past a spot is normal life. Box the scratch, box the spot, let them overlap. Partial overlap is no trouble at all. The thing to avoid is two boxes of different classes sitting almost exactly on top of each other, because then there is no way to learn which class the pixels belong to.
5. Start granular, merge later
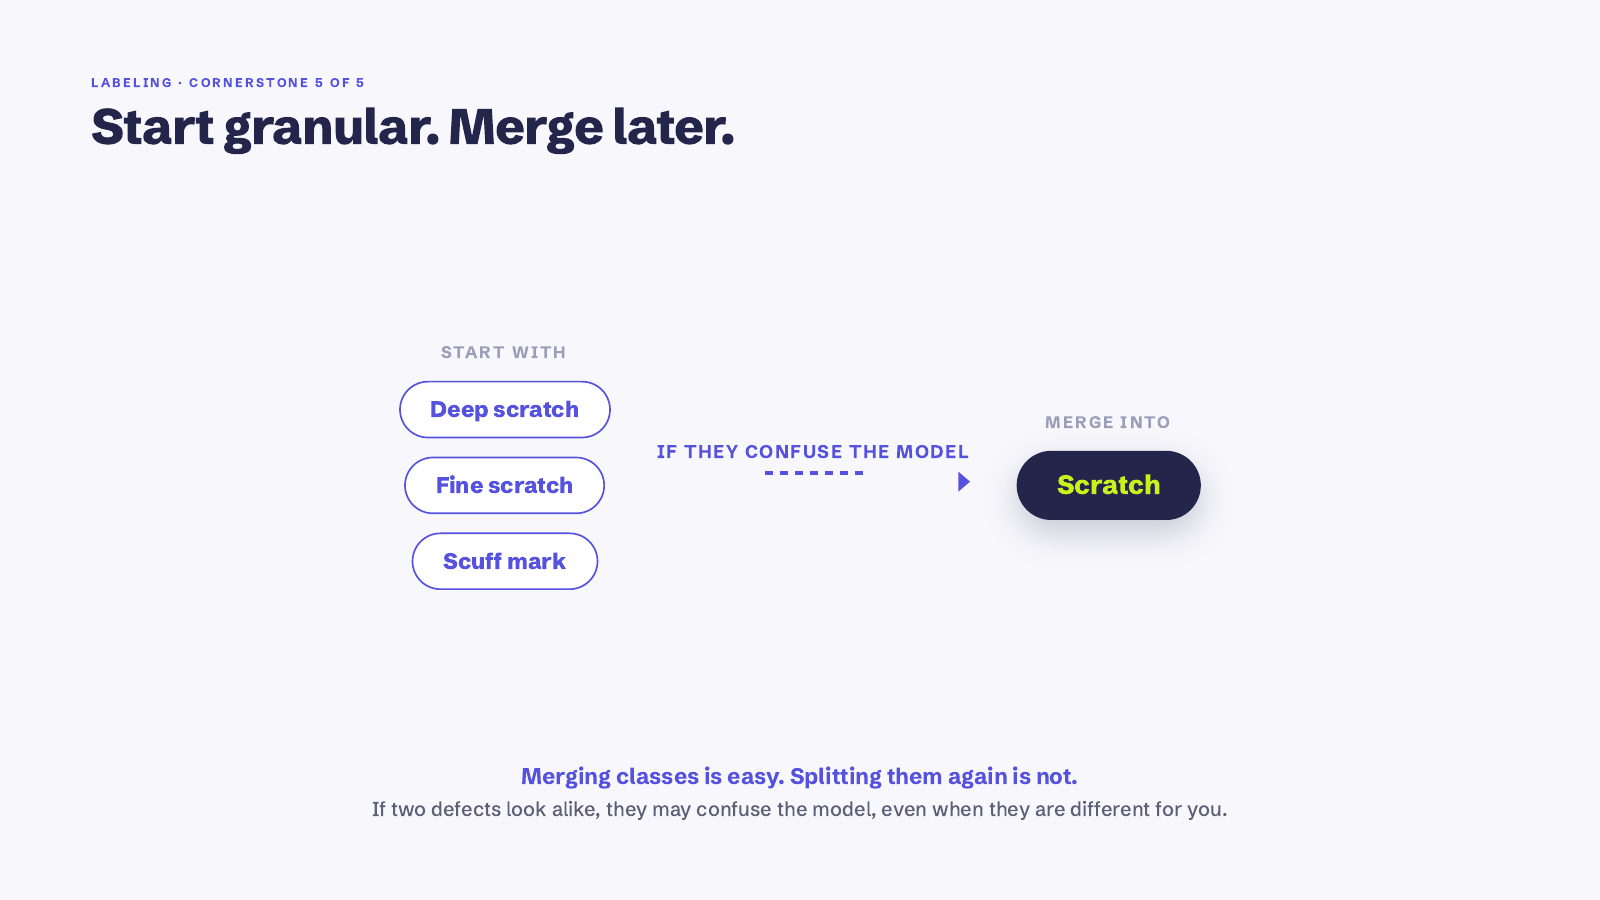
If you are not sure whether deep scratch, fine scratch and scuff mark are one class or three, start with three. Merging later is a click. Splitting a class you lumped together means going back through everything. The hint that it is time to merge is when the model keeps confusing two classes with each other, which usually means they look alike to the camera even if they mean different things to you.
In practice: four things we learned the hard way
The cornerstones are the rules. These are the judgment calls that only show up once you are actually sitting there drawing boxes.
Many defects, one box
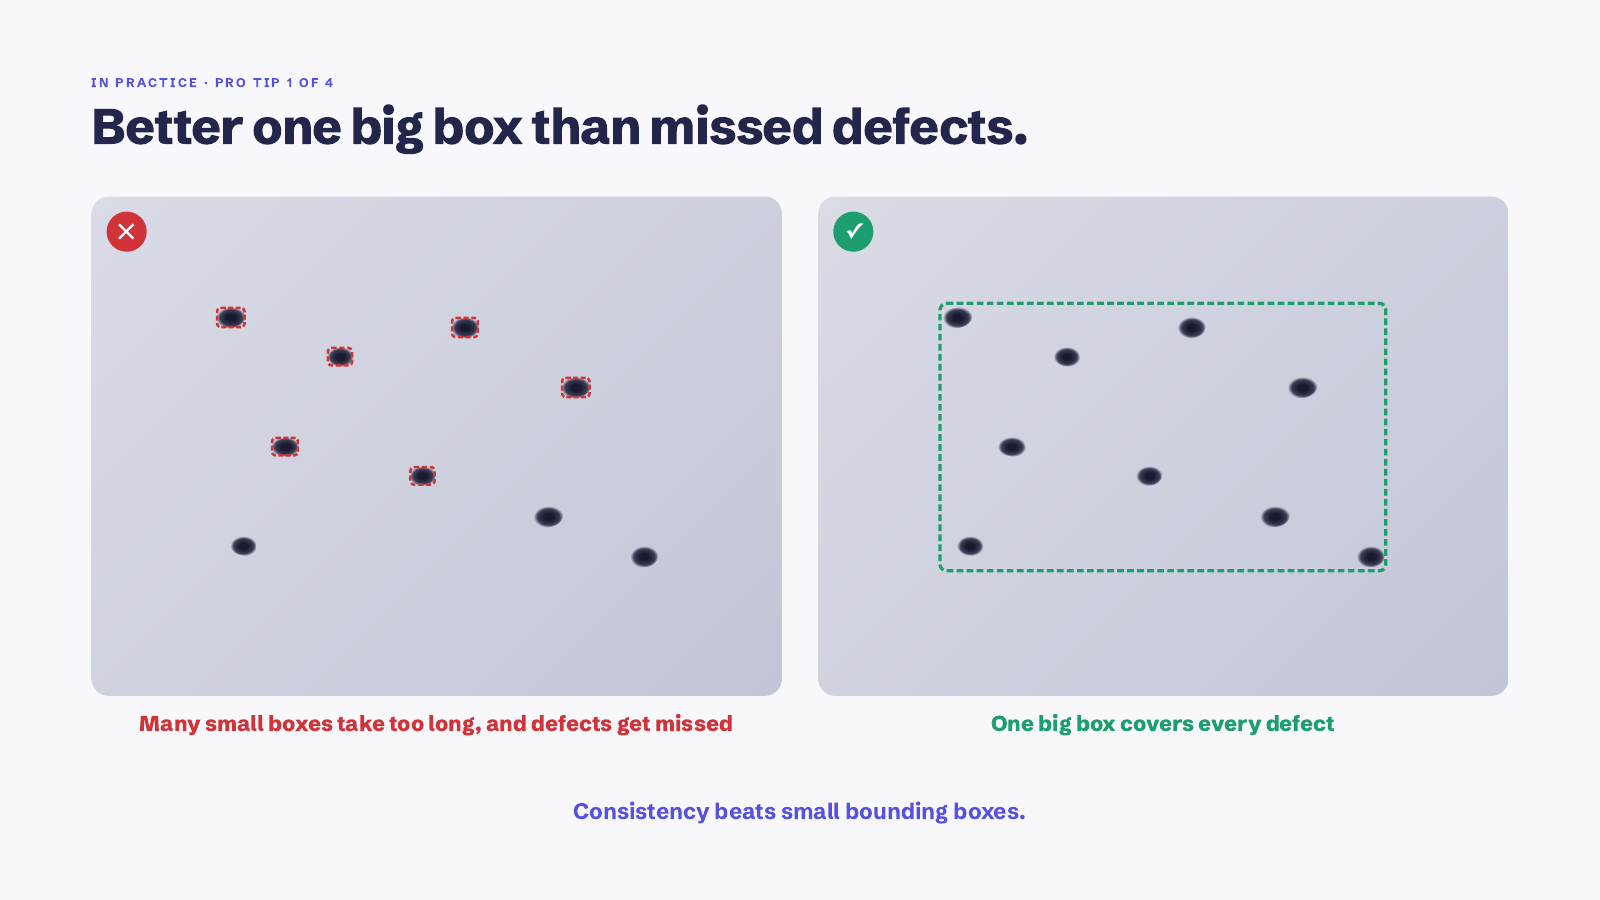
Fifteen tiny boxes around fifteen specks takes forever, and somewhere around box eleven you will miss one. We know because we did. One honest box around the whole cluster is faster, and the model does not mind. Consistency beats small boxes.
Be efficient, not dogmatic
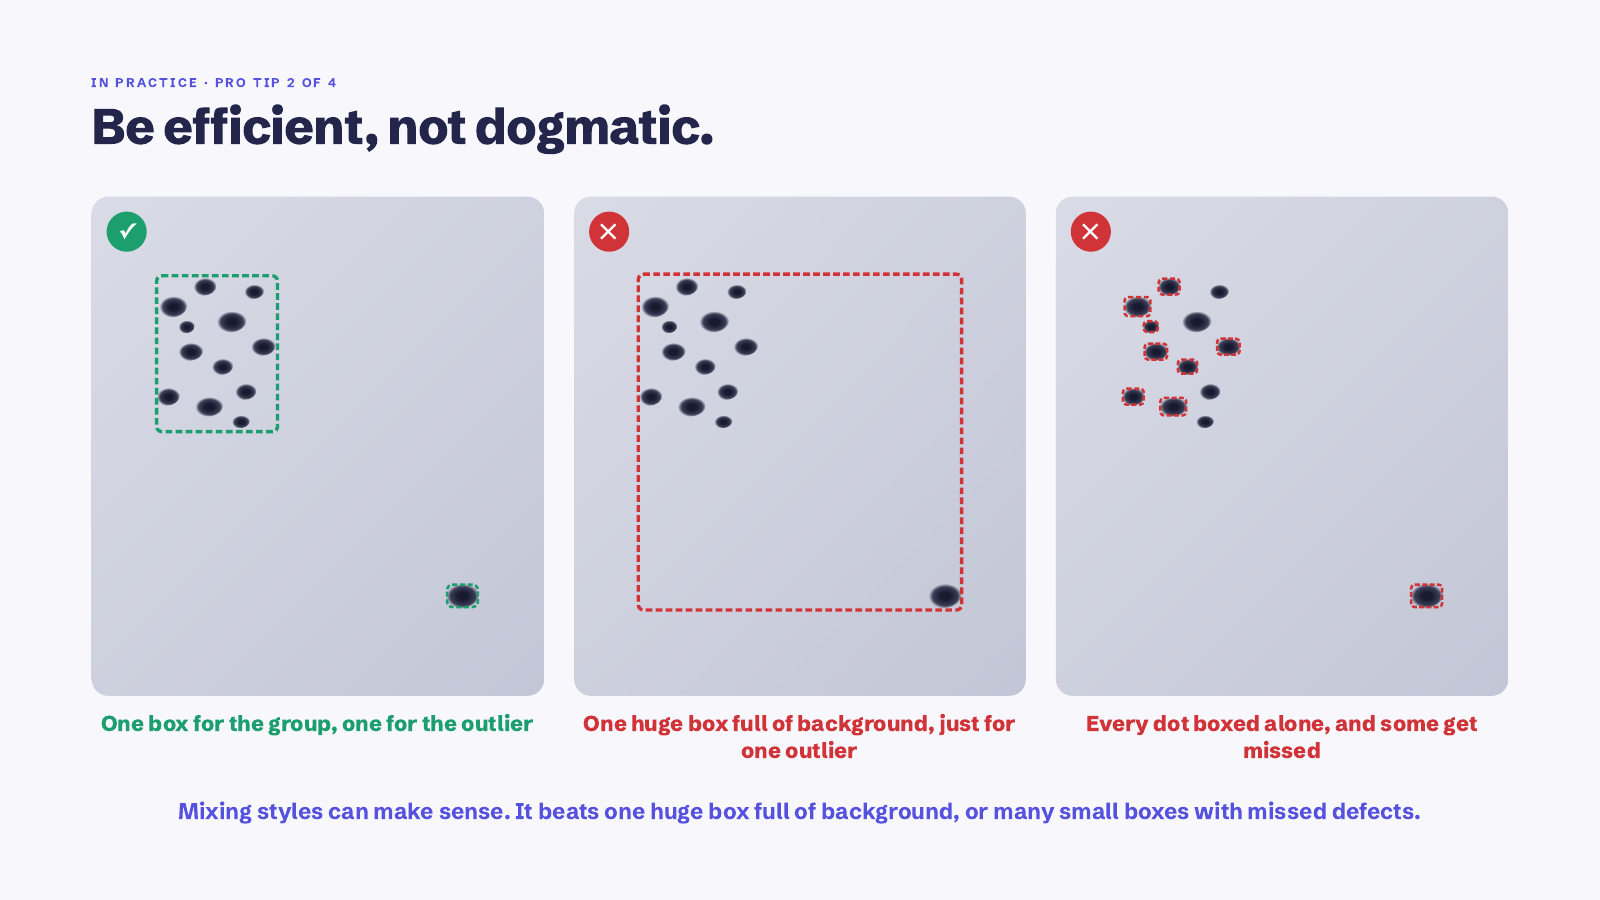
Sometimes the right answer is one box for the group and one for the outlier. Yes, that is mixing styles. It is still better than one enormous box full of background just to catch the outlier, or fifteen individual boxes with three missed. The rule underneath all the rules is to label so that the next person would label it the same way.
Kick messy samples out of the dataset
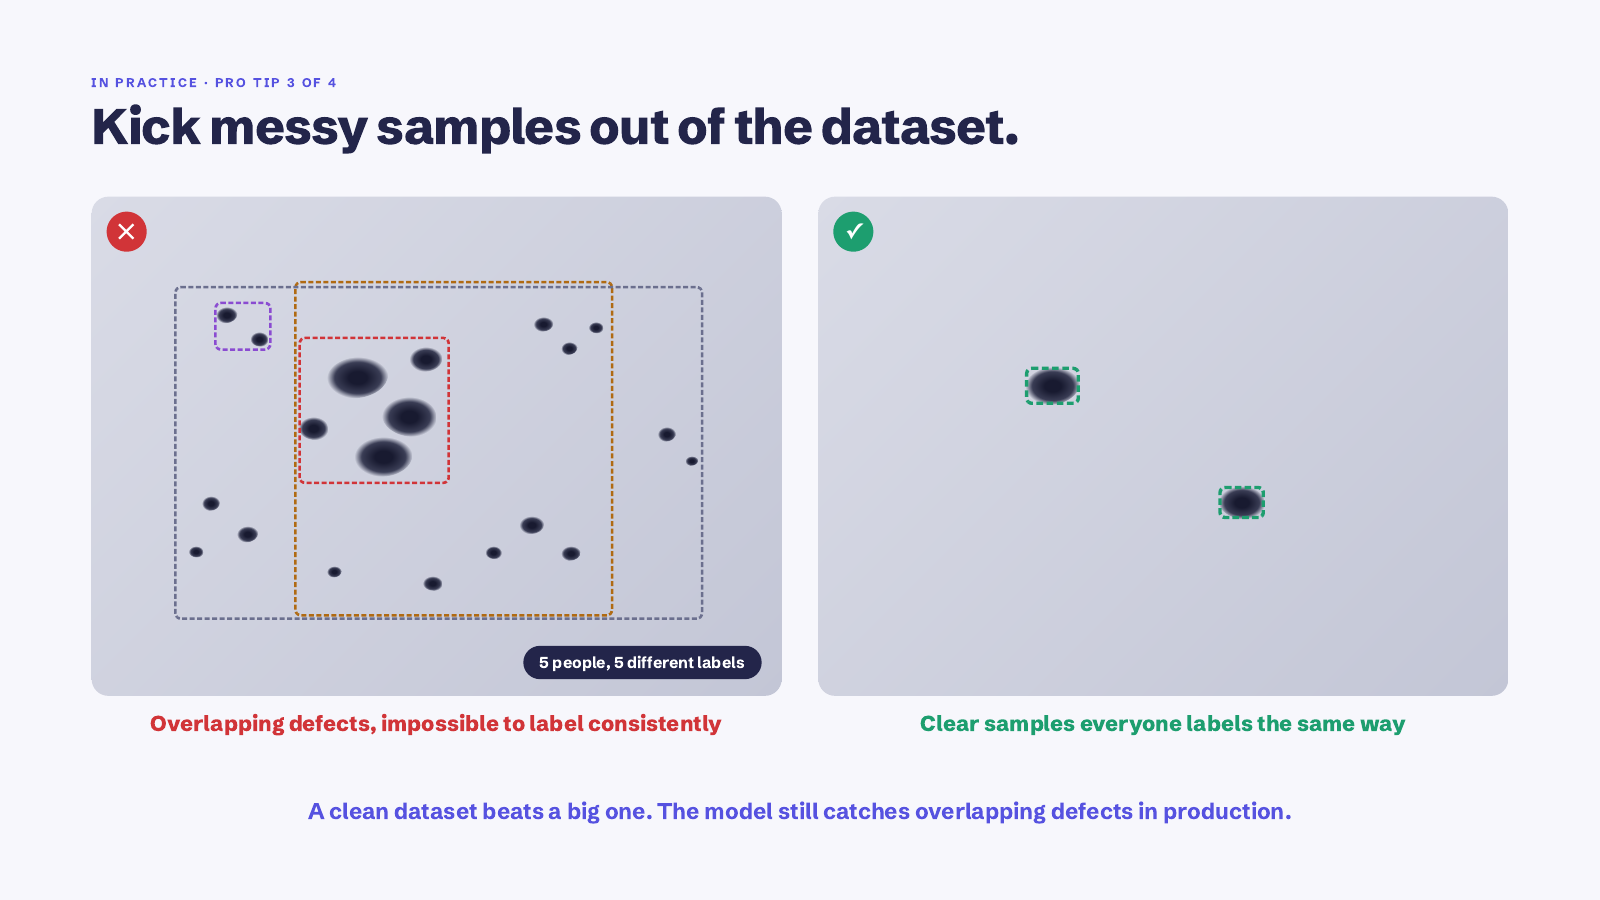
Some images are just impossible to label consistently. Three defects overlapping, edges you cannot separate, five people who would draw five different sets of boxes. Take those out and do not feel bad about it. A clean dataset of two hundred images beats a noisy one of a thousand, and the model will still catch overlapping defects in production. It just should not learn from them.
Better more background than subjective boxes
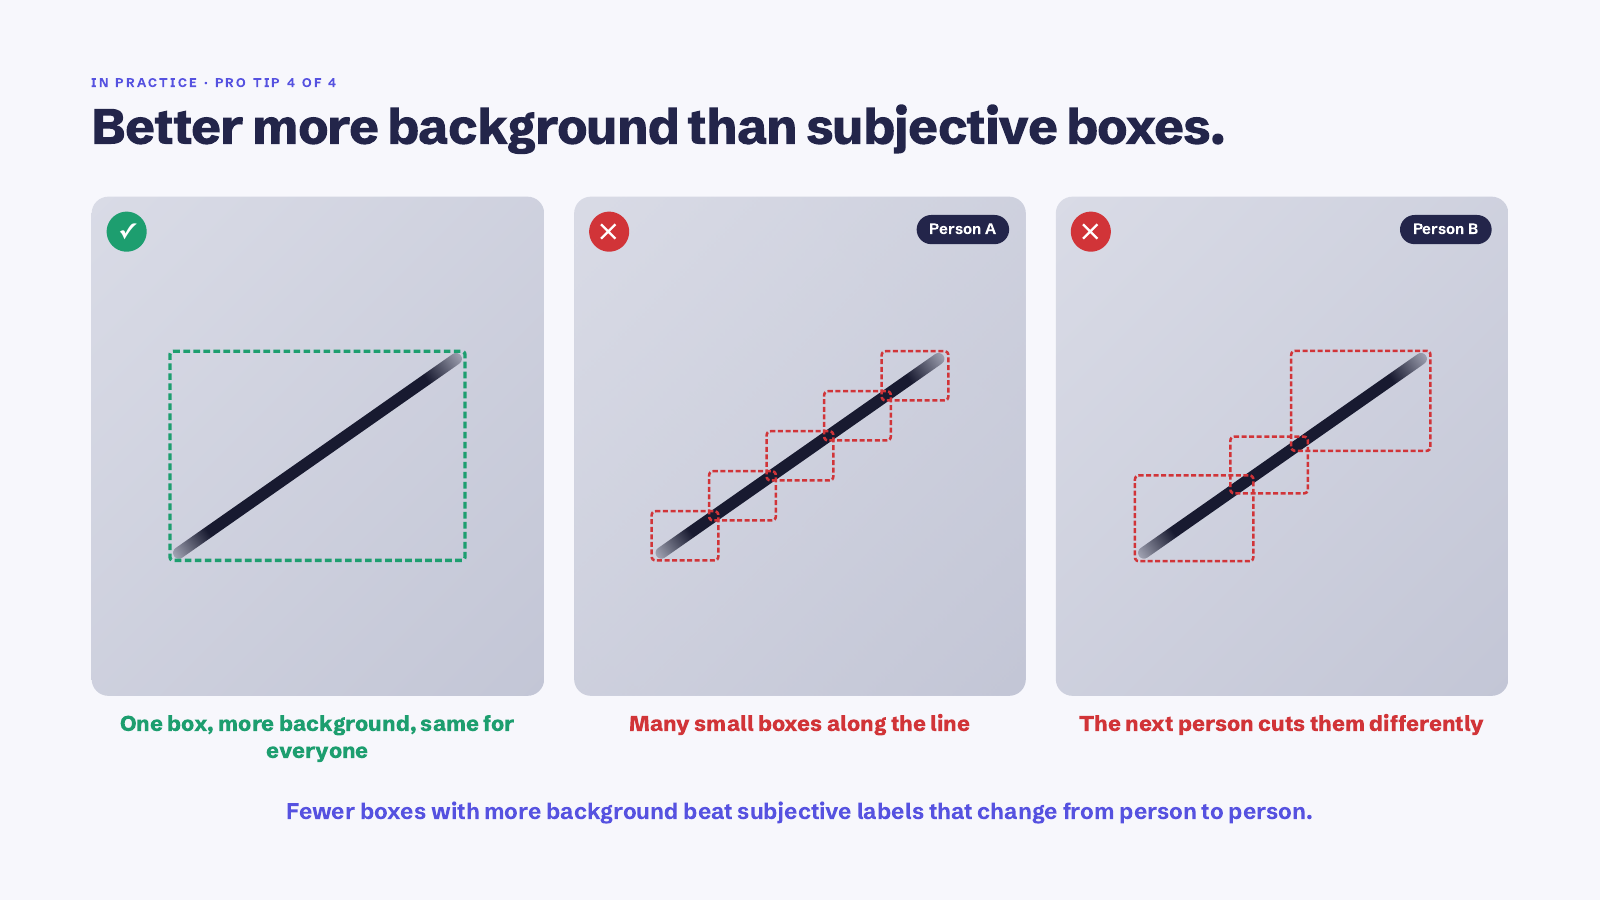
A long scratch can be one box or six short ones, and if you leave it to individuals you will get both. One box with a little extra background is the same for everyone. Whenever a labeling decision depends on who is holding the mouse, make the box bigger until it stops depending.
How many images do you need?
Fewer than you might think, if they are good. For one defect type on one product, 25 to 50 well-labeled images is usually enough for a first model you can put on the line and learn from. What tends to sink projects is not too few images, it is a hundred images labeled three different ways. Start small, label carefully, test it, then add images where the model is weakest.
FAQ
What is bounding box annotation?
Drawing a rectangle around each thing you want the model to find, in this case each defect, so it can learn what that thing looks like and where it tends to appear. It is the most common kind of image annotation for visual inspection.
Should the box include background?
A few pixels of margin, no more. Enough that the edge of the defect is inside the box, not so much that the model has to learn to ignore the surroundings.
How do I label a defect that is partly hidden?
Box the part you can see, tightly. Do not guess at the rest. If most of it is hidden, ask whether the image belongs in the dataset at all.
Do I label good parts too?
Yes, by leaving them unboxed. Images with no defects and no boxes teach the model what normal looks like, and you need those as much as the defect images.
What if two people disagree on a label?
That is a sign to change the rule, not to pick a winner. Make the box bigger, merge the classes, or drop the sample until the two of you would draw it the same way.
Try it on your own parts
The best way to see whether any of this holds is to label 25 images of something on your own line and train a model on them. Try the demo, no signup, sixty seconds or get started for free.
Explore with AI
Discuss this article with your favorite AI assistant
