Plastic Injection Moulding
Catch sink marks, flash, short shots, and weld lines before parts leave the press.
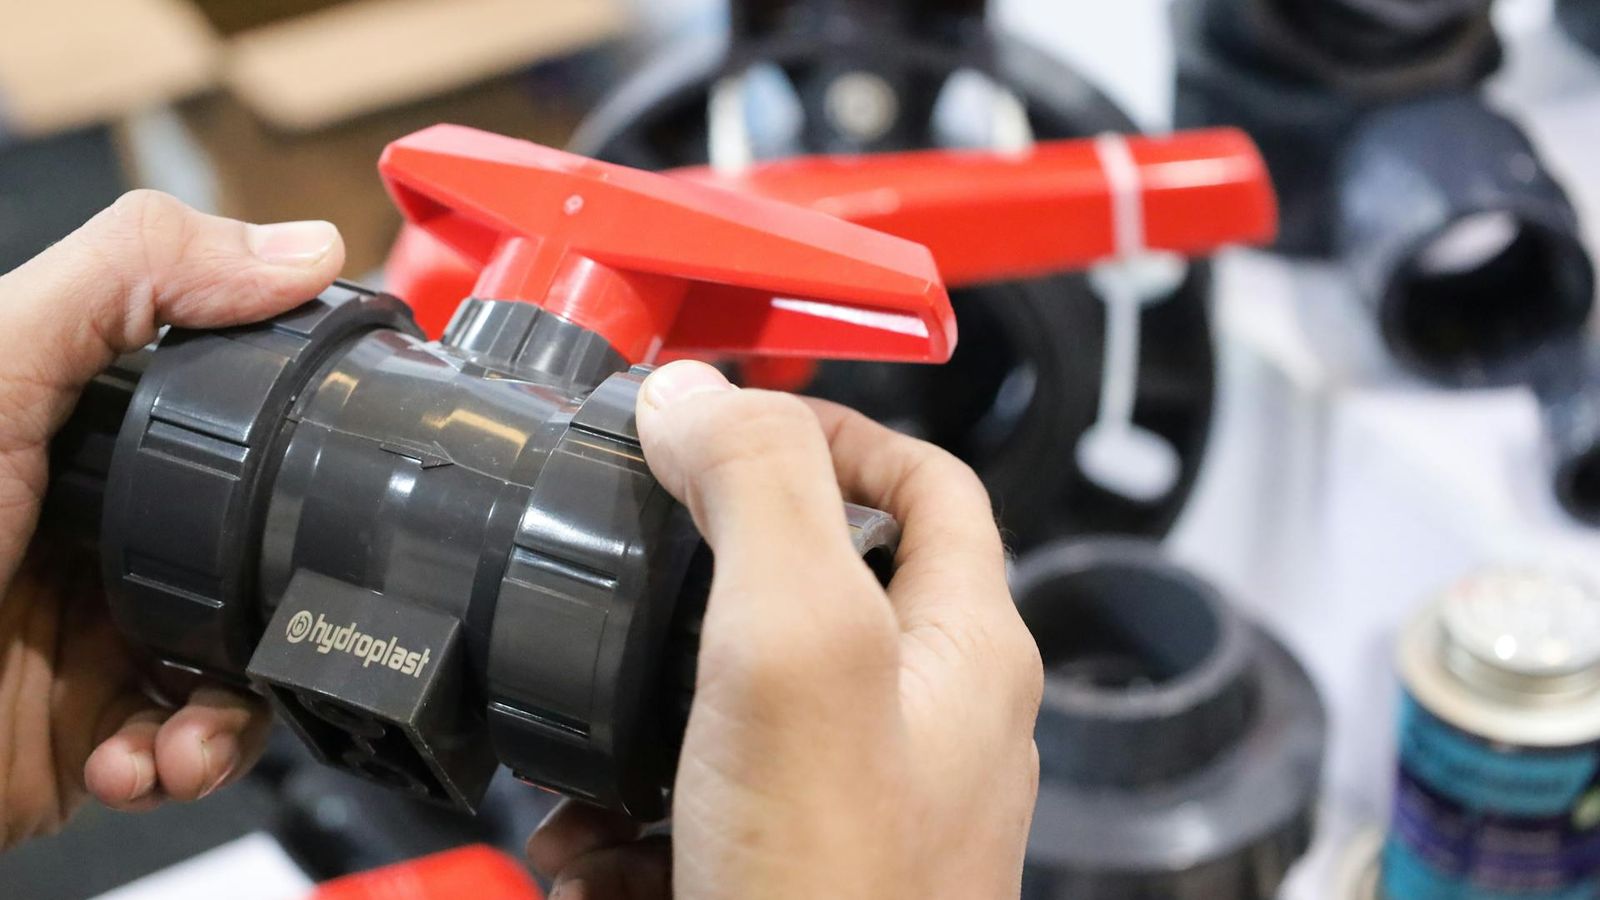
Automated quality inspection for plastic injection moulding, running on a refurbished iPhone alongside your press, take-out robot and assembly cell.
What is automated quality inspection for plastic injection moulding?
AI defect detection for plastic injection moulding uses a camera and an AI model to watch every part as it leaves the press, the take-out robot, or the assembly cell, and to flag non-conforming parts before they reach the tray. Instead of relying on an operator at the panel or on rigid rule-based machine vision, the model learns from images of conforming and non-conforming parts on your line, and it adapts as your tool, your resin, and your colour change.
The shop floor calls this in-line visual quality control, AI-based defect detection or AI vision for plastic injection moulding. The technology family is the same: a fixed camera, a controlled lighting setup, an AI model trained on examples from your line, and a traceability record that every shot was inspected and either accepted, flagged, or rejected.
What it does not do: replace your tool maintenance, your process engineer, or your customer audit. What it does do: make sure that the part counts you ship match the part counts that pass spec, every shift, on every tool, with a record you can show the auditor when a customer complaint comes back.
Defects we catch on plastic injection moulding lines
Sink marks
Concave depressions on thick sections that show up after the part cools. Caused by insufficient pack pressure, short pack time, or a hot-spot in the tool. The eye misses them on textured A-surfaces and on darker colours; a camera with raking light picks them up at the take-out station before the part reaches the assembly cell.
Flash at the parting line
Thin film of plastic that escapes between the two halves of the tool and freezes around the parting line, the slides or the ejector pins. Tells you clamp tonnage is low, the tool is wearing, or a venting channel is clogged. A camera looking down on the parting line catches flash before the part ships, even on geometries where a fingertip check is impractical.
Short shots
The cavity does not fill completely and the part comes out missing a feature, a corner or a thin rib. Usually caused by a cold runner, low injection speed, or an air trap. A short shot on a snap-fit clip or a screw boss makes the part unusable and is the highest single source of customer rejects on most lines. A camera comparing every shot against a reference image catches a short shot the moment the robot drops the part on the conveyor.
Weld and knit lines
Visible lines where two melt fronts meet around a hole, an insert or a side action and freeze before they fully knit. Tells you the gate position, the melt temperature or the injection speed needs work. The line is sometimes cosmetic, sometimes a strength problem; either way the customer specifies a limit and a camera enforces it shot by shot.
Warpage and dimensional drift
The part leaves the tool the right shape, then bends, twists or shrinks unevenly as it cools. Caused by uneven wall thickness, an uneven tool temperature, or a packing imbalance. A camera that takes a shape print of every part on a fixture catches the moment a tool starts to drift, hours before the first customer reject.
Surface flow marks and silver streaks
Wavy surface patterns or thin silver lines along the flow direction. Tells you the melt is too cold, the regrind ratio is too high, or the resin is too wet. A camera trained on your specific resin and colour spots a streak the moment it appears, instead of waiting for the customer to flag a cosmetic complaint.
That is the starting list. During onboarding we calibrate which of these classes matter most on your specific line and tune the model accordingly.
How automated visual inspection runs on a plastic injection moulding line
An injection moulding cell that runs visual inspection on Enao looks like the cell next door, with one extra component. A refurbished iPhone is mounted on a stand with a downward or angled view of the take-out station, the conveyor, or a dedicated inspection fixture. A simple LED bar gives the camera the same light at every shot.
When the robot drops a part, the camera takes a picture. The model on the iPhone classifies the part as OK or as one of the seven defect families above, and writes the result to your traceability log. If a shift gives you twenty flagged parts in a row, the operator gets an alert; if a tool gives you a slow drift on sink marks across the day, the dashboard flags it before the customer does.
The model retrains overnight on the previous day's labels, so a tool change, a resin change or a colour change is absorbed in one shift instead of one quarter. New part numbers go through the same flow: the operator labels the first hundred shots, the model takes over from shot one hundred and one, and the process engineer reviews the labels at the end of the shift.
AI vision vs manual checks on injection moulding lines
Lines that move from manual operator checks or rule-based machine vision to AI-led inspection see the same step changes regardless of resin family or part geometry.
Detection rate on subtle defects — Traditional machine vision (Cognex, groundlight, advantechplastics, Solomon-3D, Overview.ai) needs labelled image libraries before it ships, and a six-figure integration. Enao reaches 80% accuracy on day one with no labelled data, then climbs past 95% as your operators tag a few hundred examples on the iPhone.
Time to handle a new tool or part number — Manual: Operator briefing, golden samples, paper QC sheet. Two to four weeks until the floor reads the new part fluently. Enao: Hundred labelled shots and the model is running. Same shift, no paper sheet to update on every press.
Traceability when a customer comes back — Manual: Hand-written log on a clipboard, partial coverage, missing shifts. Reconstruction takes a week. Enao: Every shot logged with image, classification and confidence. Reconstruction takes ten minutes.
Cost to get running — Manual: Adds an inspector per shift per press, recurring monthly cost on top of training. Enao: Hardware under €1,000 per cell. The cost stays flat while the line scales.
Behaviour when the tool drifts — Manual: Gradual rejects climb until the customer flags it. Days of root-cause work to find the moment. Enao: Dashboard shows the drift the day it starts. Process engineer has the time stamp and the image.